

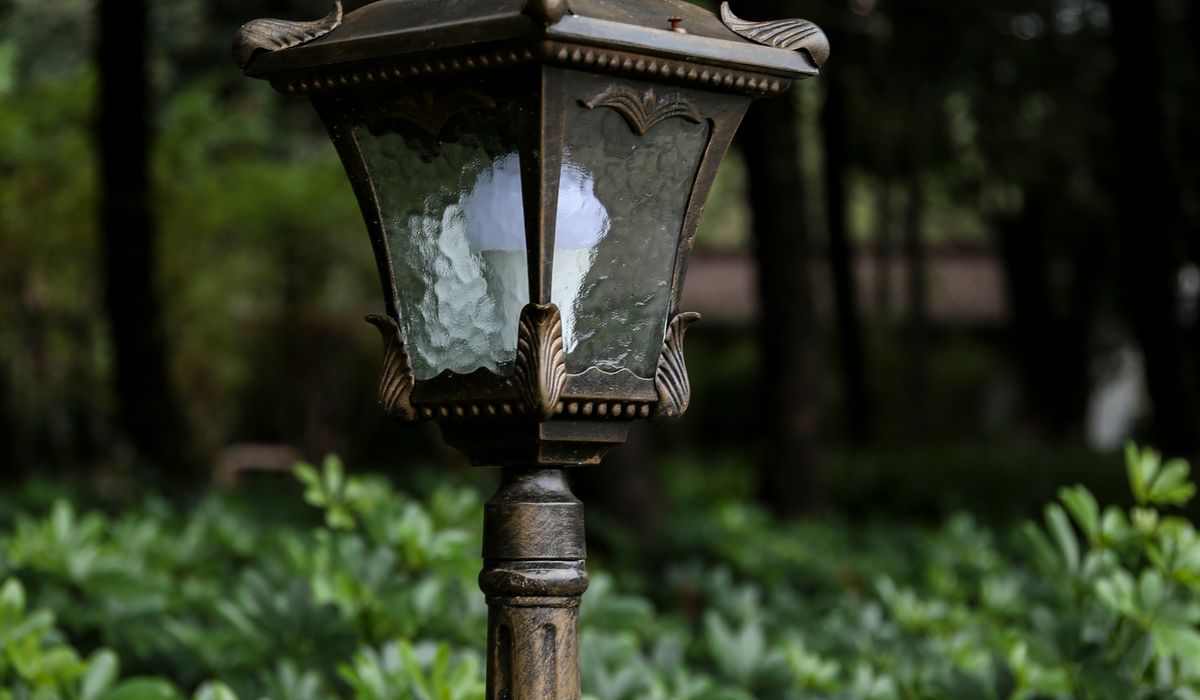
Pendant lights are one of the few purchases in a kitchen or dining room that you notice every single day. Get the drop right and they tie a scheme together, mark out the heart of the room and make a table feel like somewhere you actually want to sit. Get it wrong and you spend the next decade looking at a lamp that either glares in your eyes or hovers so high it might as well be a ceiling rose. The good news is that the numbers behind a well-hung pendant are simple, and they barely change whether you are over a breakfast bar or a family table.
Start with height, because it changes everything
Everything else follows from the drop. Measure from the lowest point of the fitting — not the ceiling rose, not the flex — down to the surface below. Above a kitchen island or breakfast bar worktop, aim for 75–85cm. That keeps the light close enough to be useful for chopping, plating and homework, while leaving clear headroom for anyone standing and leaning.
Above a dining table, go a little lower: 70–80cm above the table top. On a standard table height of around 75cm, that puts the shade roughly 145–155cm off the floor. Sit at the table during the planning stage if you can — a pendant at that height should sit just above your eyeline when seated, so it lights the table rather than your face.
Most British homes have ceilings between 2.4m and 2.6m, which gives you plenty of flex. In a period cottage or a flat with a 2.3m ceiling, choose a shallower shade or a semi-flush fitting rather than shortening the drop to the point where it looks squashed.
How many pendants, and how far apart
As a rule of thumb, space multiple pendants 60–75cm apart between centres, and keep them at least 45cm in from each end of the island or table. Lights hung closer to the edge than that tend to illuminate the floor beyond the furniture and leave the middle gloomy.
- A 1.2m round or small square table: one pendant, roughly 40–55cm in diameter.
- A 1.5–1.8m island or table: two pendants, or one larger statement shade.
- A 2.4m island: three pendants at around 60–70cm centres reads beautifully.
- A 3m island or long table: three at wider spacing, or four if the shades are slim.
Odd numbers generally look more relaxed and forgiving than even ones, and they make a long run feel less like a runway. Whatever you choose, centre the arrangement on the table or island itself rather than on the room. A pendant group aligned to the island but slightly off-centre in the space looks deliberate; one aligned to the room but off-centre over the island looks like a mistake.
Beam angle decides where the light actually lands
This is the part most people skip, and it is the difference between pools of light and a wash of glare. Beam angle describes how wide the cone of light spreads. As a rough guide: 24–30° gives a tight, dramatic pool; 36–40° is the versatile middle ground for tables; 60° and above floods the area and suits islands where you want broad task light.
You can work out the spread. At a 90cm drop, a 36° beam throws a pool of roughly 58cm across; a 24° beam only about 38cm. So if your pendants are 70cm apart with narrow beams, you will get three distinct circles with dark gaps between them. With 36–40° beams at the same spacing, the pools overlap and the surface reads as evenly lit.
Over a dining table, narrow beams are usually the better choice: they light the tabletop and leave the room around it softly dark, which is what makes an evening meal feel generous rather than clinical.
Bulbs, colour temperature and dimming
Warm light flatters food and people, so choose 2700K for a dining table and 2700–3000K for an island where you are also working. Look for roughly 400–600 lumens per pendant rather than chasing wattage.
- Check the fitting is dimmable and that the lamp inside it is too — they are two separate things.
- Match your dimmer to the driver. Trailing-edge dimmers suit most modern LED pendants; older leading-edge dimmers often cause flicker or a buzzing hum.
- Buy a spare lamp of the same batch if the shade takes a specialist fitting.
- Warm dimming lamps, which shift towards amber as you turn them down, are worth the extra for a dining room.
Practical buying checklist
- Weight and fixing. Check the maximum load for your ceiling. Plasterboard alone will not hold a heavy cluster pendant; you need a joist, a noggin or a proper cavity fixing.
- Adjustable flex. Confirm the cable can be shortened on site, and whether the excess can be tucked into the ceiling rose or shade.
- IP rating. If a pendant sits within reach of a sink or a hob splash zone, choose a suitable rated fitting and keep it clear of steam and grease.
- Cleaning. Glass and metal shades wipe down; fabric and open rattan collect cooking grease quickly.
- Re-lamping. Make sure you can change a bulb without dismantling the whole fitting.
Awkward ceilings and common mistakes
Sloping ceilings and vaulted spaces need a different approach: set the drop from the table below so the shades sit level with each other, rather than hanging them an equal distance from an uneven ceiling. On an island, watch out for extractor hoods, which can swallow the visual space where pendants want to sit; sometimes a single low pendant at one end and a hood at the other is the honest answer.
The most frequent errors are hanging too high, spacing too widely, and fitting two pendants where one generous shade would look better. Before you drill, hold the shades up on a temporary cord or a length of string, stand back, sit down, and look at them in daylight and after dark. Half an hour of pretending saves years of wishing you had measured twice.



John Doe
14 January, 2022Having no content in post should have adverse..
Chauffina Carr
10 April, 2022We use these tests all time! Killer stuff!
Jim Séchen
16 July, 2022Thanks for all the comments, everyone!