

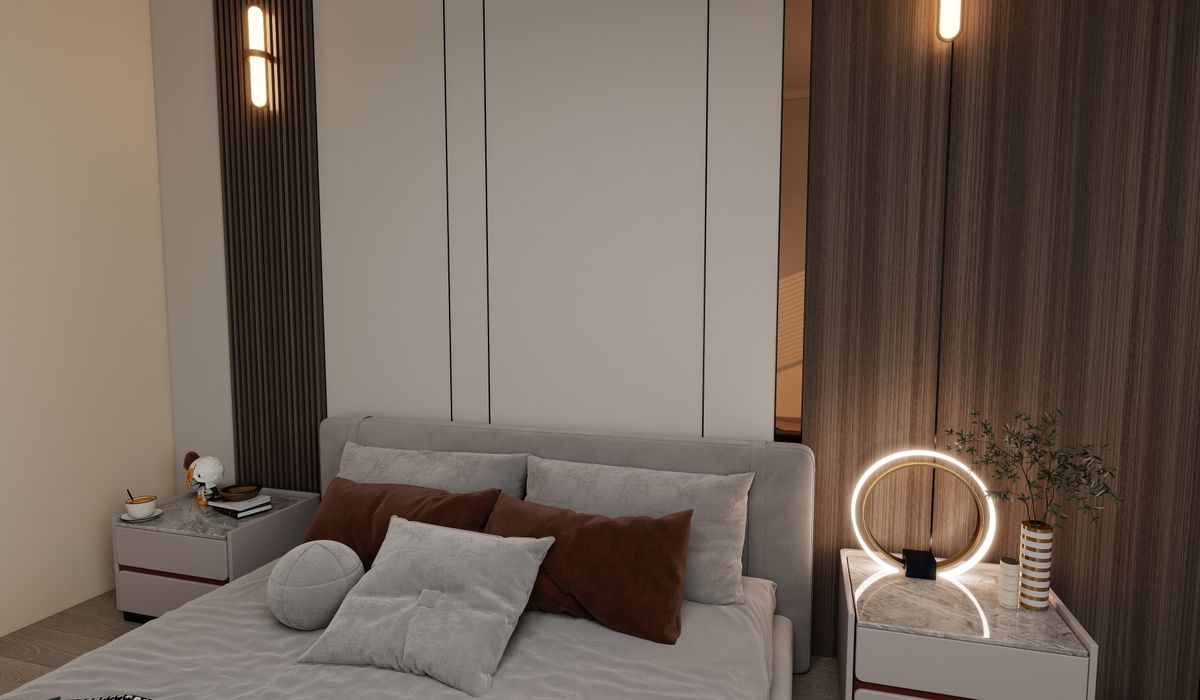
Why the worktop is the darkest place in your kitchen
Stand at your sink and look down. Your ceiling light is behind your head or somewhere over the middle of the room, which means the brightest thing on the worktop is usually the shadow of your own hands. Add wall cabinets above and you have a shelf that blocks the light exactly where you need it most. This is why so many people end up chopping onions in their own silhouette, or leaning sideways to read the small print on a recipe card.
Under-cabinet lighting solves a very specific problem. Instead of fighting the room, it floods the work surface from directly above, so a knife, a board and a set of fingers are all clearly and evenly lit. Fitted properly, it also makes the kitchen feel larger and more considered at night, when a single ceiling light turns the room into a slightly harsh box.
What good task light actually looks like
Brightness is not the same as usefulness. For food preparation, you want light that is even, free of glare, and the right colour so that raw chicken, red peppers and fresh herbs still look appetising rather than grey.
- Colour temperature: 2700K to 3000K warm white blends with most kitchen schemes. If your worktop is white stone or you do a lot of fine detail work, 4000K gives a crisper, more clinical feel.
- Colour rendering: look for a CRI of 90 or above. Below that, food looks flat and muted.
- Output: around 400 to 700 lumens per metre of strip is the sweet spot for a domestic worktop. More than that and you will be squinting off polished granite.
- Continuity: a single unbroken line of light beats five bright dots, every time.
The main fitting types, and which suits your cabinets
Most British kitchens fall into one of four options, and the right choice usually comes down to whether you are happy routing cables and how much you want to spend.
- LED tape in an aluminium channel: the best-looking result. The channel diffuses the individual diodes into one smooth ribbon and also acts as a heat sink, which extends the life of the tape considerably. Choose a 45-degree channel if you want the light angled towards the back of the worktop.
- Linkable rigid LED bars: the easiest retrofit. They plug into each other and into a single socket, which means no electrician in many cases. Slightly more visible under the cabinet, but very practical.
- Puck lights: compact and useful for awkward corners or glass-fronted cabinets, but they tend to create pools of light and shadows between them. Best used as a supplement rather than the main event.
- Slim linkable fluorescents: cheap, widely available and still found in many older kitchens. They run cooler these days, but the light quality is rarely as good as LED and they are deeper, so more noticeable from below.
Installation details nobody warns you about
This is where a job goes from neat to noticeably homemade, so it is worth planning before you drill anything.
- Keep clear of the hob. Steam, grease and heat will kill an LED strip quickly. Stop the run at least 300mm either side of the hob, or protect it in a sealed channel.
- Think about the sink. Anything within splashing distance should be at least IP44 rated, and the driver should sit somewhere dry and accessible, not buried behind a sealed plinth.
- Plan the cable route first. The neatest runs hide behind the carcasses, along the back edge, and drop down inside the wall cabinet to a socket on the ring. If you are tiling a splashback, decide now, because you will not want to chase the wall twice.
- Check the driver wattage. Add up the total load of every metre of tape and leave a little headroom. A 24V system is a good choice for runs over about four metres, as it suffers less voltage drop than 12V.
- Know the rules. In England and Wales, certain electrical work in a kitchen is notifiable, so if you need a new circuit or socket, use a registered electrician rather than improvising.
Switching, dimming and everyday use
A single switch at the door is fine, but two zones are better: one for general worktop illumination and one for the sink or a breakfast bar. That way you can leave a soft wash of light on in the evening while the rest of the kitchen stays dark.
Dimmable drivers and warm-white tape make a real difference if you use the kitchen socially. Full brightness for chopping at seven in the evening, dimmed to around 20 per cent when you are pouring a glass of wine at ten. A plug-in smart socket is a simple way to add timing or voice control without touching the wiring, though it will not dim a non-dimmable driver.
A short buying checklist
- Measure the full run under every wall cabinet, then add 10 per cent for corners and waste.
- Decide on plug-in linkable bars or hardwired tape before you buy, as the two cannot be swapped later.
- Insist on a diffused channel or a frosted lens, never bare diodes on show.
- Match colour temperature across the whole kitchen, including any ceiling downlights.
- Buy from a supplier that lists lumens per metre and CRI, not just wattage.
- Budget roughly £30 to £60 for a simple linkable kit and £80 to £150 for a decent tape-and-channel setup with a dimmable driver.
Do this once, properly, and you will wonder how you ever cooked in the gloom. Good under-cabinet light is one of the cheapest genuine improvements you can make to a British kitchen, and it pays you back every single evening.



John Doe
14 January, 2022Having no content in post should have adverse..
Chauffina Carr
10 April, 2022We use these tests all time! Killer stuff!
Jim Séchen
16 July, 2022Thanks for all the comments, everyone!